

Discover the essence of Amazon Storefront banners and their pivotal role in captivating potential customers. Learn the optimal size – 3000 pixels wide by 600 pixels tall – for seamless integration and stunning visual impact. Uncover expert tips for crafting compelling banners that reflect your brand identity and drive sales
Posted Nov 9, 2022
•
7 min read

Ecommerce, Photography

Create beautiful marketing graphics at scale.
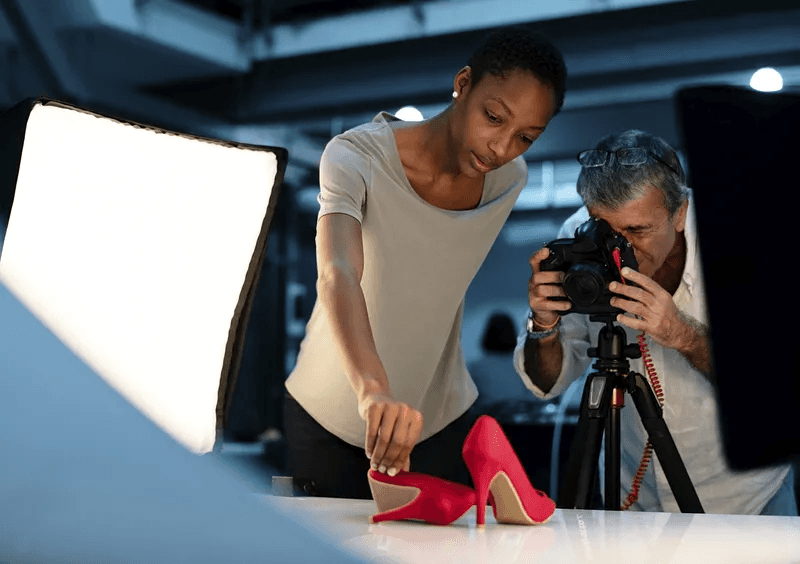
6 Tips On How To Photograph Products For E commerce With Less Than $50
What is product photography?
Product photography is creating captivating images to strategically display products and influence prospective consumers to purchase them. Creative product photography is vital for both online and offline marketing. Apart from company websites, these images can also be used in magazines, leaflets, newspapers, social media sites and other online advertising platforms.
The human mind processes images 60,000 times faster than text. When you view a product page on an e commerce site, high-quality product photography is the main factor that influences your decision to purchase an item.
The different types of photos for e commerce products
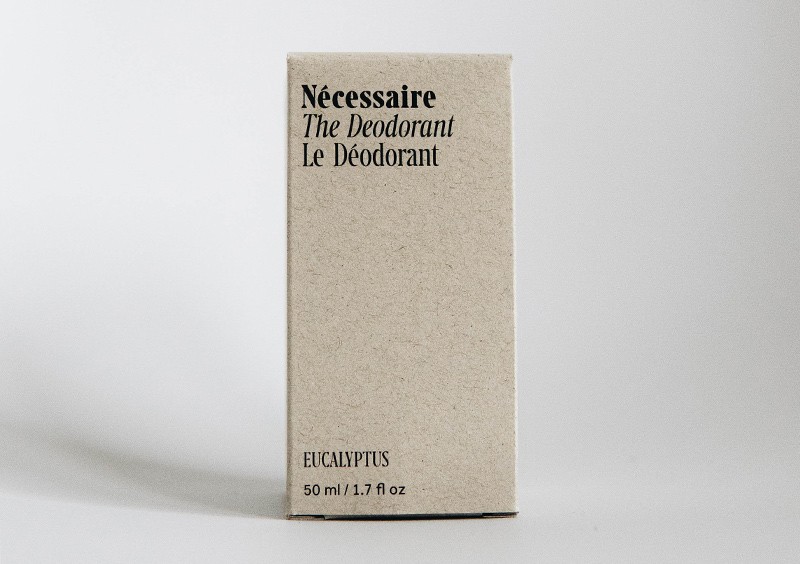
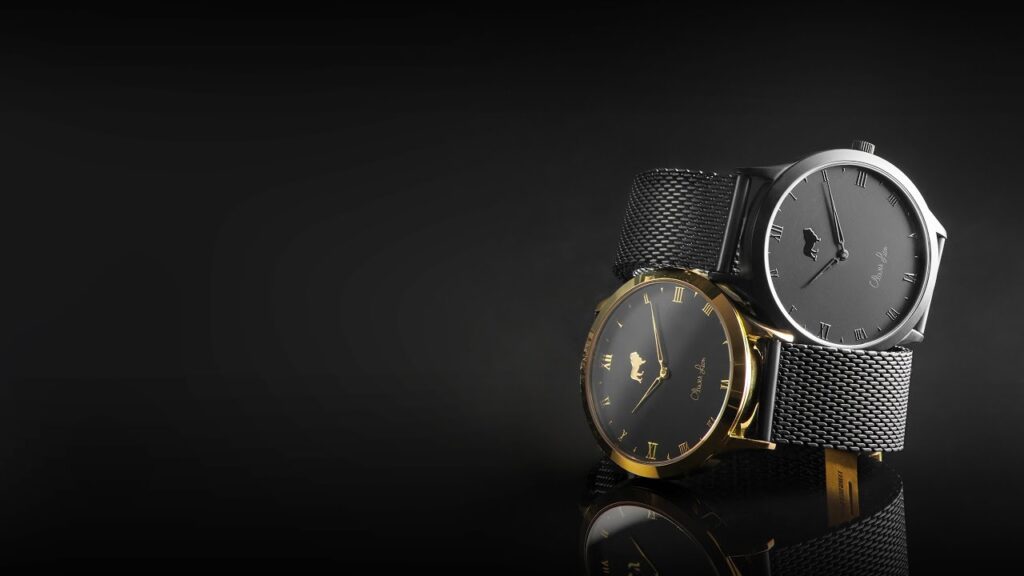
1. Product-only photographs
These are minimalist photos of only the product against a white backdrop. This ensures 100% focus on the product and its features. Several photos can be taken from various angles and perspectives to provide transparency and context to potential buyers. With the purpose of inspiring viewers to make a purchase, these photos are perfect for your official website.
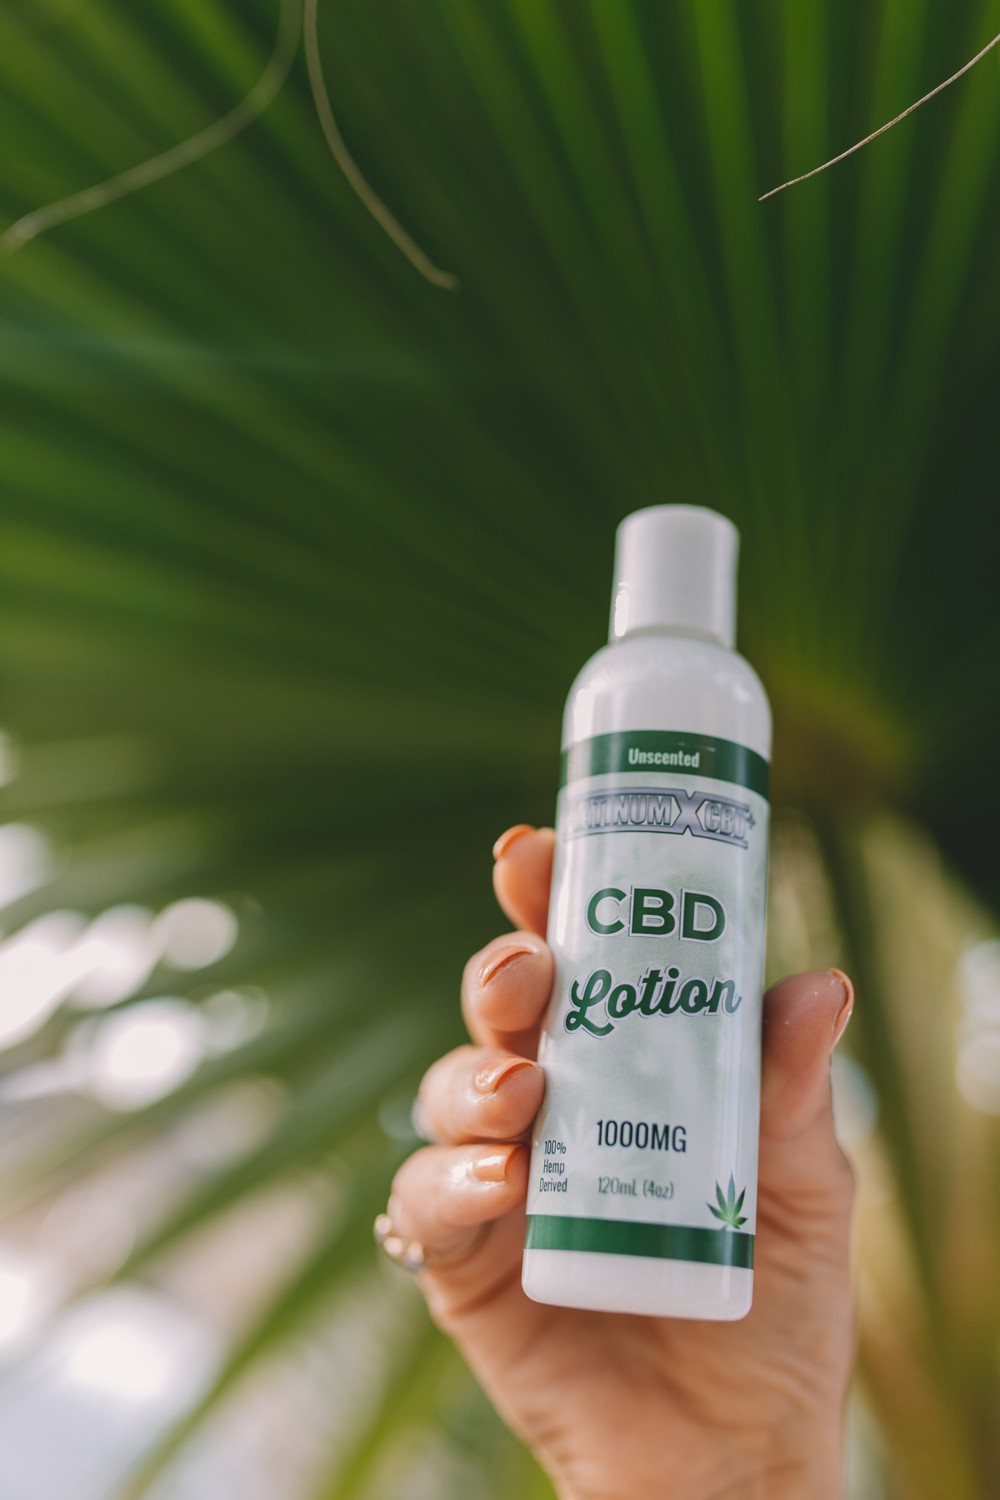
2. Lifestyle images
Lifestyle images are photographs that tell a story by capturing real-life situations as naturally as possible. They connect with the audience by tapping into their emotions and providing an idea of how the product can be used in every-day situations.
3. Macro shots
These are extremely close-up photographs of small objects. Macro shots are aesthetically pleasing and draw attention to product features. By highlighting intricate details, macro photographs bring into focus attributes that might easily be overlooked in regular photos.
4. Packaging images
Packaging images showcase products along with the outer packaging such as boxes, bags or packets. They are ideal for gift products where presentation and visual appeal are important to the customer.
5. Scale shots
Like its name suggests, scale shots feature images in 3 different sizes: long, medium and close. Long shots are taken from a distance to include aesthetic backgrounds and surroundings. Close up shots are taken from a short range and focus more on the features of the product.
6. Group shots
These images feature many products instead of a single one. They are ideal for advertising a range or line of products such as skincare items, cosmetics and kitchenware. Potential buyers can get a good idea of all the products on offer. This often drives them to click "Add to cart" since people prefer to purchase products from the same brand.

6 Tips on how to photograph products for e commerce
If photography isn't your thing, shooting your own product photos can appear daunting at first. But once you get the hang of it, you'll find it enjoyable, efficient and easy on the wallet.
The main objective of product photography is to identify, refine, and develop a framework to make sure your photos communicate the right message. The framework is customized according to your preferences. Now let’s review some tips and techniques to get the best photos that show off your products.
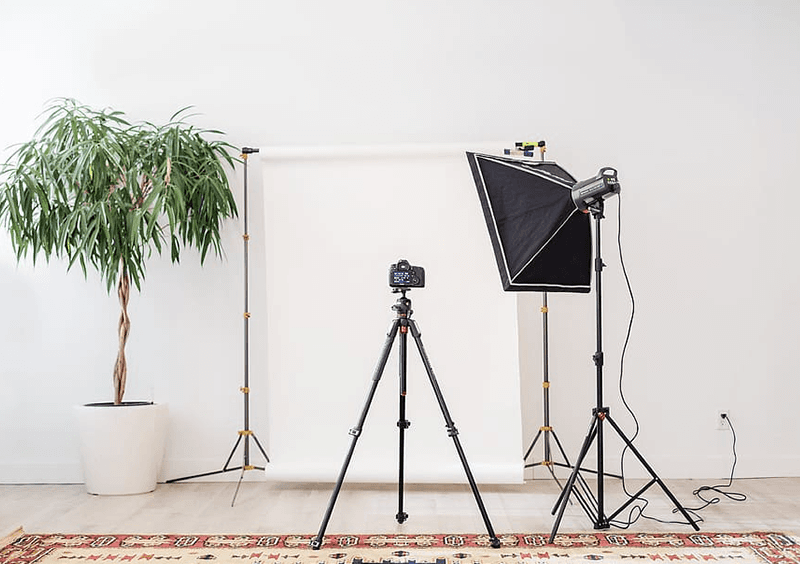
1. Have the right equipment
Apart from your product, photographing device and any small decorative elements, there are two main items you should definitely have.
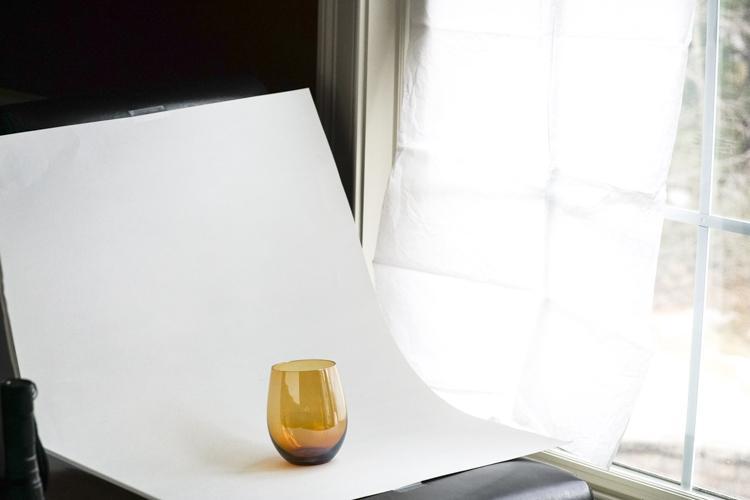
1. A platform to film
This can be done with ordinary furniture. To create a table mounted sweep, all you need is well, a table, and a sheet of craft paper. Simply place the table against the wall and tape the craft paper to the wall. Allow the paper to flow effortlessly onto the table, generating a smooth transformation between the vertical and horizontal planes.
A chair mounted sweep is also a great platform for photography and can be set up in the same way as a table mounted sweep.
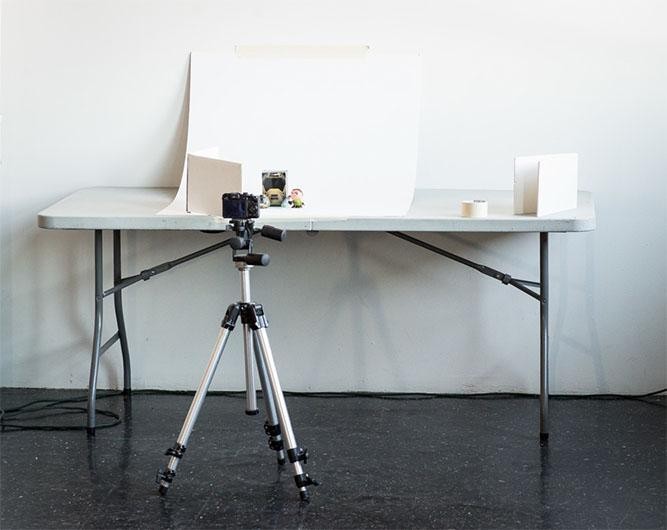
2. A light tent
Also known as a light box, a light tent is a transparent box-shaped structure created to shine light uniformly on a photographic subject. Here’s how to create your own light tent.
Step 1: Take a big cardboard box. The bigger the box, the more types of products you will be able to place inside it.
Step 2: Leaving a 2 inch border, cur out a window on either side of the box.
Step 3: Cover the windows with white sheets of fabric or paper. Make sure the material you use has a matte surface. A smooth surface will cause unwanted reflections.
Step 4: Place the box on its side. Tape a white sheet of paper or fabric to the top of the box and let it flow seamlessly down. This negates the division between the horizontal and vertical planes. Your light box is now ready to be used!

2. Choose an appropriate backdrop
Making sure you have the right backdrop is worth the time and energy since it makes the editing phase easy. Using only a white or light background may be a good idea, as the pictures can be filtered easily if retouched. Neutral backgrounds also
3. Use the right lighting techniques
If there is one element that determines the quality of your photographs, it is light. Lighting can be challenging to perfect, but if done correctly, it provides excellent outcomes and makes image enhancement much smoother.
When it comes to lighting, you have 2 choices:
1. Natural light
This works well if a chair mounted sweep is being used. It will be more practical to use natural light if your product photography is carried out on a preset spending limit. It is much simpler to manage and will spare you a lot of energy and hard work for simple in-house product shoots. Position your shooting platform close to a large window in a well-lit room and make sure no unnecessary shadows interfere.
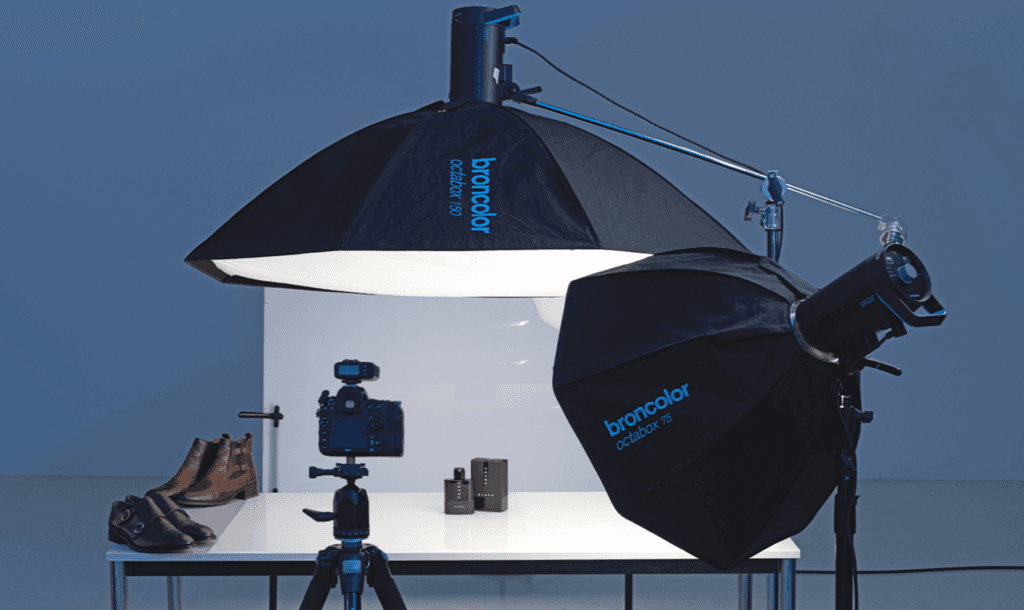
2. Artificial light
If you have a sufficient budget, or the time to create a light box, artificial lighting is the best option for you. If you are going with this choice, a minimum of two softbox light settings are required in order to correct the dark areas.
Currently, you can buy two light clips with solid bulbs for less than $30 and two softbox configurations for around $50. Light boxes are needed to uniformly shine light on an object.
4. Use a tripod
Tripods provide balance, alignment, and clarity. No matter how steady your hand is, there are bound to be instances where you lose focus. You'll be left with a set of blurry photos and nothing to show for your time.
If a tripod is not within your budget, build a stack of books or set up a table to stabilize your camera or phone. Apart from portability, this works just as well as a professional tripod.
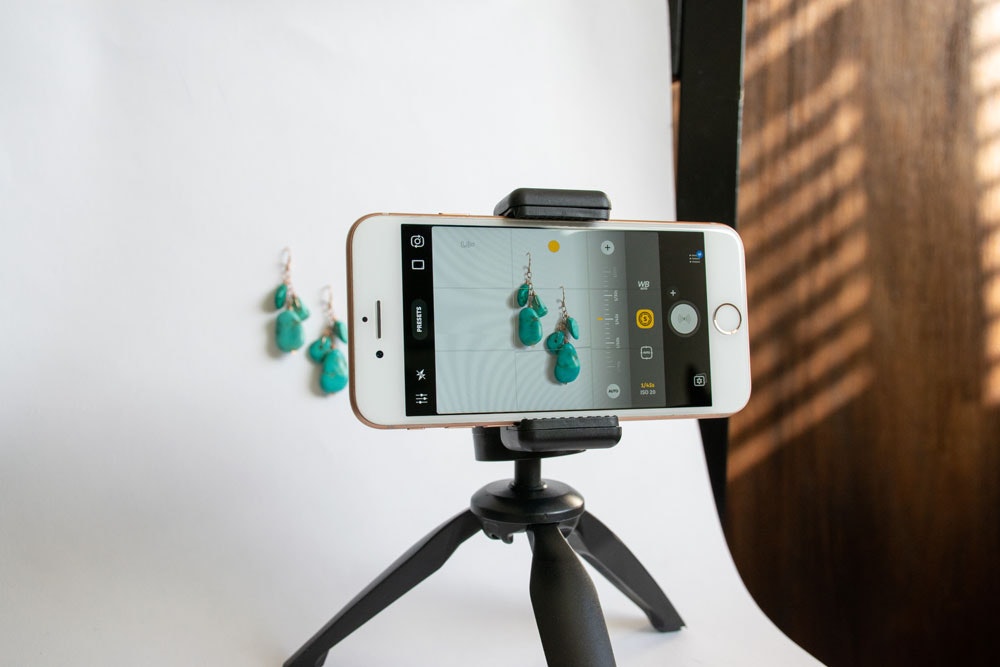
5. Find a high-quality camera
What's a photo shoot without a good camera, right? In recent years, the cost of DSLR and point and screen cameras have gradually reduced. Even so, if you’ve got a Smartphone, you don't have to worry too much about investing in a camera.
The design of mobile cameras has developed immensely and can capture photographs that are on par with those taken by professional cameras. Your iPhone or Samsung software can do the right work for product photography, as far as the illumination and background are right.
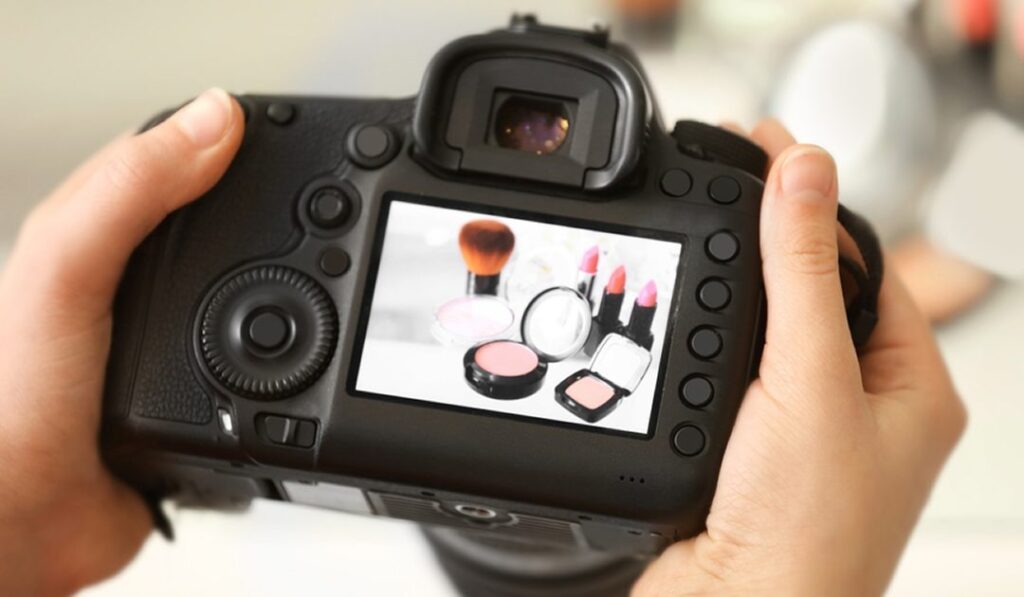
6. Don’t ignore editing
Retouching your photographs is essential for a professional look. No matter how great your photos turn out, a little editing can make them look even better. There is a lot of competition out there, so make the most of reflections, shadows and other features to give your images a unique flair.
If you could not find the right background, or aren't satisfied with the one in the photos, editing software can easily help you remove or change backgrounds. Photo editing can be time consuming if you do not use the right software. Using the correct apps and tools based on your skills level can save time and result in jaw-dropping product images.

Retouch your images with Glorify
Speaking of choosing the right tool, we have just the one for you. Glorify is a an e com focused design tool that is perfect for both beginners and professionals. Editing photos is easy and you can add effects and touch-ups without any design skills needed.
Producing captivating product images is a simple process. Once you have edited your photos, you can also resize and repurpose them for use across different platforms.
Here's how you can easily edit your e commerce product photos with Glorify:
Step 1: Start by editing or removing your image background using the background remover tool on the right panel of the editor. The background can be removed automatically but you can also choose to manually select the areas you want to get rid of. If you are satisfied with the result displayed on the right, just click "Done".

Step 2: Add a drop shadow to make your photo more realistic by clicking the drop shadow toggle found on the panel on the right. Shadow properties such as opacity and size can also be adjusted.

Step 3: You can choose to add a ground shadow for greater effect. Turn on the ground shadow toggle and experiment with the options below until you get the desired effect.

Step 4: You can also add a reflection to your image. Select the image you would like to add a reflection to. The image editing/enhancing controls will open up on the right side of your screen. Click on "Reflections" and customize the effect.

Finishing thoughts
By now, you should have a pretty good understanding of how to pull off low-budget product photography. These guidelines are useful to photographers as well as e commerce business owners operating on a tight budget.
It’s time to ace the creative product photography game! So forget the hassle of hiring professional photographers for your e commmerce store. Get started today and create your own stunning photos with Glorify!
How to photograph products for e commerce - FAQs
1. What is e commerce product photography?
Producing captivating, high-quality images of products to attract customers by showcasing these products on online platforms.
2. What are the different types of product photography?
There are many different types of product photography. Some of them are listed below.
Lifestyle shots: Images of your product being utilized.
Scale shots: Gives people to get a good idea about the size of the product.
Detailed shots: A close-up shot that showcases specific product elements.
Group shots: Groups of items displayed next to each other.
Packaging shots: An image of a product’s packaging.
3. What equipment is required for product photography?
Camera: Smartphones work, but using professional cameras will certainly result in images of higher quality.
Lighting: Since good lighting is essential, make sure artificial light sources are available in addition to natural ones.
White background: A white background (like a light tent) reflects light on the product and increases visual effects.
Tripod: Reduces motion blur and maintains overall image consistency.
4. How much does a product photographer charge?
Product photography costs can range from $7 per image to $50 for installation and $25 / hour – or even more. You may have to collaborate with several photographers to obtain images that fulfill your requirements and expected standards.
5. How do I take photos for an online store?
Depending on your budget, you can either hire a product photographer to do the job or do it yourself. Smartphones can be used to capture the images which can be edited using image editing apps such as Glorify.
6. How do you photograph products?
Choose your products and find an aesthetic backdrop. Make sure the room is well lit by either natural light or artificial lighting. Using additional equipment such as bounce boards and diffuser sheets can improve the quality of your images.
7. How do small businesses take pictures of products?
If you are a small business on a tight budget, capturing your own images instead of hiring a pro might be the best option. Produst images can be taken with a good Smartphone and later edited using photo editing software.


Features
Explore templates
Alternatives


© 2024 Glorify App - All rights reserved