Discover the essence of Amazon Storefront banners and their pivotal role in captivating potential customers. Learn the optimal size – 3000 pixels wide by 600 pixels tall – for seamless integration and stunning visual impact. Uncover expert tips for crafting compelling banners that reflect your brand identity and drive sales
Posted Nov 9, 2022
•
6 min read

Ecommerce, Graphic design, Photography

Create beautiful marketing graphics at scale.
Footwear Product Photography: The Dos and Don'ts of Taking Pictures of Shoes
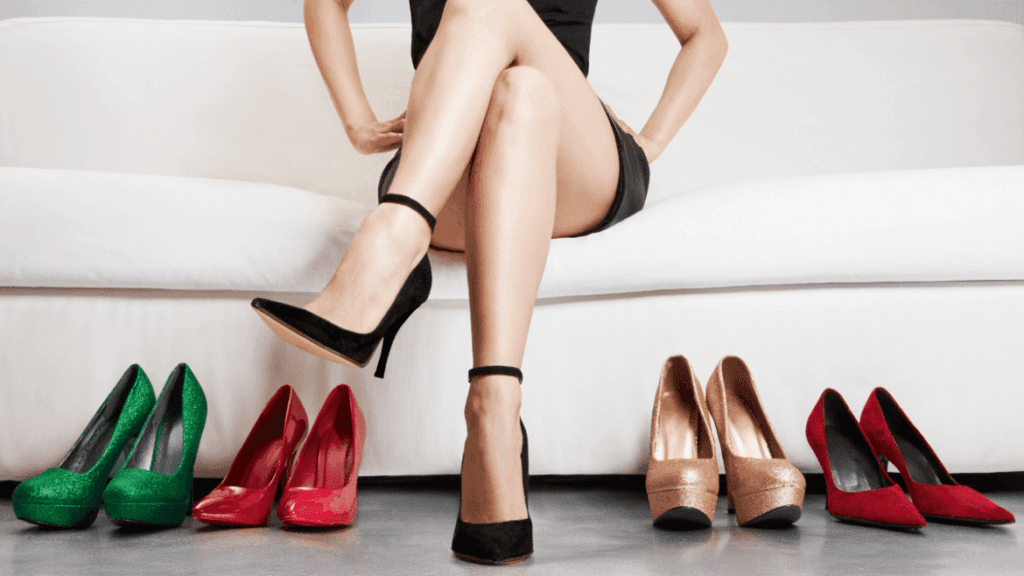
If this is your first time attempting footwear product photography, don't worry. The guidelines are simple enough and will help you take some amazing shots to boost website traffic and sales.
1. Laying footwear in a flat manner
Don't:
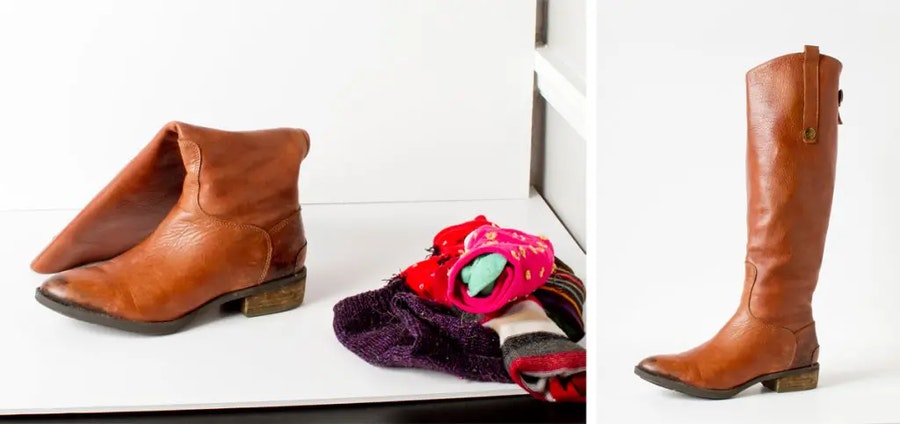
When shopping for shoes, no one wants to see limp, lifeless products. Unlike clothes, footwear is complicated for customers to visualize. Flat shoes give off a 2D effect and prevent customers from visualizing them at different angles.
Do:
Ensure the shoes give off the illusion that someone is wearing them. An effective way to achieve this is by stuffing the shoes with fabric or paper. If the shoes have straps, use colorless thread or dental floss to lift them up.
Choose the right angles to give your customers the best view of your products. The front angle shot, single angle shot, 3/4 front and 3/4 back are some of the most popular angles that do the trick.
2. Choosing the right background
Don't:
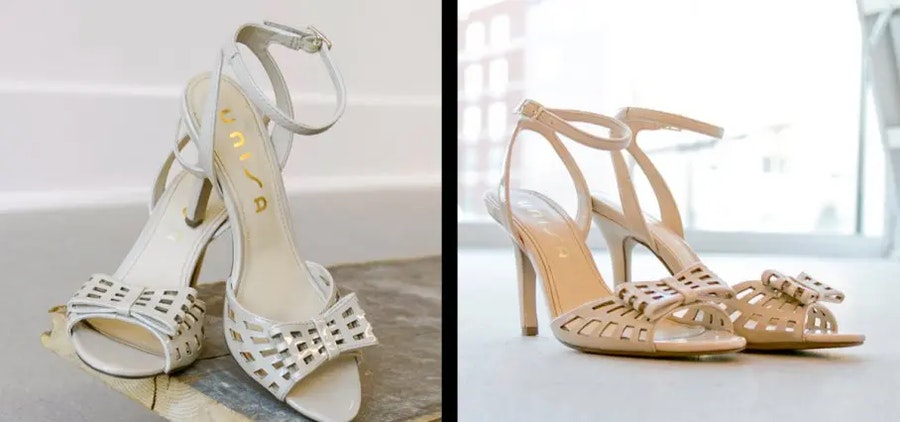
The main purpose of footwear product photography is to prompt customers to make a purchase. Nothing else except your shoes matter in the photos. Do not crowd the frame with unnecessary props and background features. This may distract customers and draw their attention away from the footwear.
Do:
Your goal is to make your products stand out. Set up a clean white or neutral background with no props or additional objects in the frame. If you're short of time and don't have the resources to set up a professional background, you can always remove unwanted backgrounds using the quick and easy tool that Glorify offers.
3. Using excessive lighting
Don't:
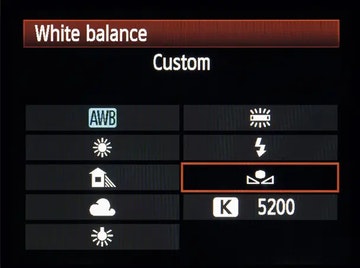
Lighting is important, yes, but it's vital that you don't overdo this part of the process. Harsh lighting can highlight flaws, creases and other imperfections that can decrease the quality of your images. Strong direct light may also make the colors look different in photographs. This can lead to unsatisfied buyers complaining that the promised product looks different from the actual image.
Do:
Go natural. It's always best to use soft lighting that preserves the aesthetics of your footwear. Set up your products next to a wide window or lease a softbox studio setup. If your photo shoot is being held outdoors, stay away from direct sunlight. Find a nice shady spot with soft lighting to get the ideal photos.
4. Using the wrong focus
Don't:
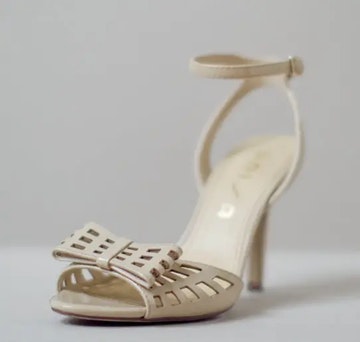
Soft focus and blurring are great techniques in photography and work well for many styles - but not for product photography. Customers don't care about how creative your photography skills are. They simply want to see what they're buying. Avoid irritating customers by blurring sections of your product.
Do:
Concentrate on each feature of your footwear using a high aperture such as f/11 on your DSLR camera. Be smart and use a tripod to reduce motion interference and give your pictures the greatest possible clarity. Make sure all parts of the product are in full focus so that customers won't have any doubts in mind.
5. Misusing the cropping tool
Don't:
Be mindful of excessive cropping. The wrong use of the cropping tool is one of the worst mistakes you can make. If the images on your website are inconsistent, customers will tend to ficus on the more zoomed-in images than the others. This will also mess up the aesthetics of your website and give off an unprofessional vibe.

Do:
Set standard dimensions and rules for your images and stick to them. Using an efficient tool such as Glorify allows you to make the most of pre-sized templates and easy resize tools to maintain consistency throughout your website.
6. Providing sufficient viewpoints
Don't:
Customers want to know exactly what they're spending money on. Providing limited angle shots prevents customers from visualizing themselves wearing the shoes. The less visual information provided, the less they are likely to buy.

Do:
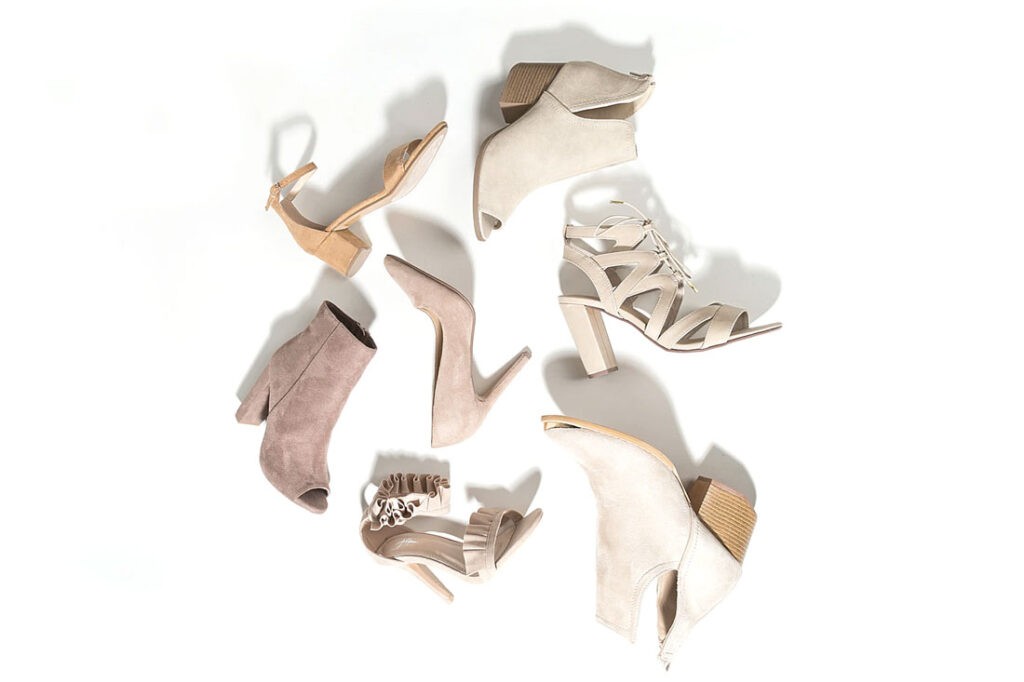
Capture the product from as many perspectives as possible. Here are some quick angle types that you can follow for your next footwear photo shoot:
If you have a range of footwear, include one shot of the different types together.
A 3/4 front view image
A 3/4 back view image
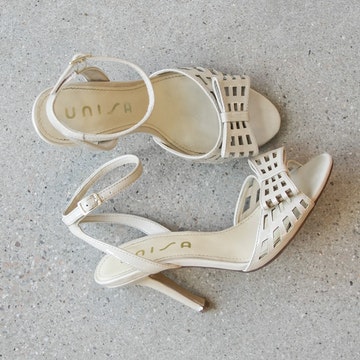
A photo from the top
A close-up shot to highlight the texture and details
Creating captivating footwear product images using Glorify
Capturing the ideal photographs is not the only thing you need to do to start selling your products. You also need to edit these photos to present your footwear in the best light. Glorify is the ideal tool to help you in this stage of the process.
Glorify is an easy-to-use design tool that allows you to make quick and simple edits to your photographs. You can get rid of unwanted backgrounds, add customized shadows and reflections, and more!
If this is your first time editing photos, Glorify is the tool for you. The balanced editor makes it super easy for both beginners and professionals to touch up photos and other graphics.
Here's how you can edit your footwear product photos is a few simple steps:
Step 1:

Step 2:

Step 3:

Step 4:

Step 5:

Concluding thoughts
Footwear product photography is an art in itself. It may sound complicated but if you follow the dos and don'ts given in this article, you'll be able to produce captivating images in no time.
Ready to start editing those photos? Then get started with Glorify!
Footwear product photography FAQs
1. How do you take product pictures of shoes?
Like any other product images, shoes can be photographed using a professional camera or even a good quality mobile phone. Find the ideal setting or background and use the correct lighting equipment.
2. How do you professionals photograph shoes?
Professional photographers use a combination of lighting, angles and other techniques to capture attractive photographs that highlight the best features of the product.
3. How do you stage shoes for pictures?
Set up the correct lighting that highlight key features of the product. Position the shoes in a variety of angles that will grab the customers' attention. Make sure to never lay shoes flat on the ground.
4. How do you take aesthetic pictures of shoes?
Ideal footwear photography is a result of several different techniques combined. Using the correct lighting and angles are vital. You can also boost aesthetics by using photo editing software to add shadows, reflections and backgrounds.
Features
Explore templates
Alternatives
© 2024 Glorify App - All rights reserved


